How to Install Additional Weight Plates
Enhancing your EmberBox with additional weight plates allows you to customize your workout intensity and achieve your fitness goals more effectively. Follow this step-by-step guide to ensure a seamless addition of weight plates.

Step 1
Preparation
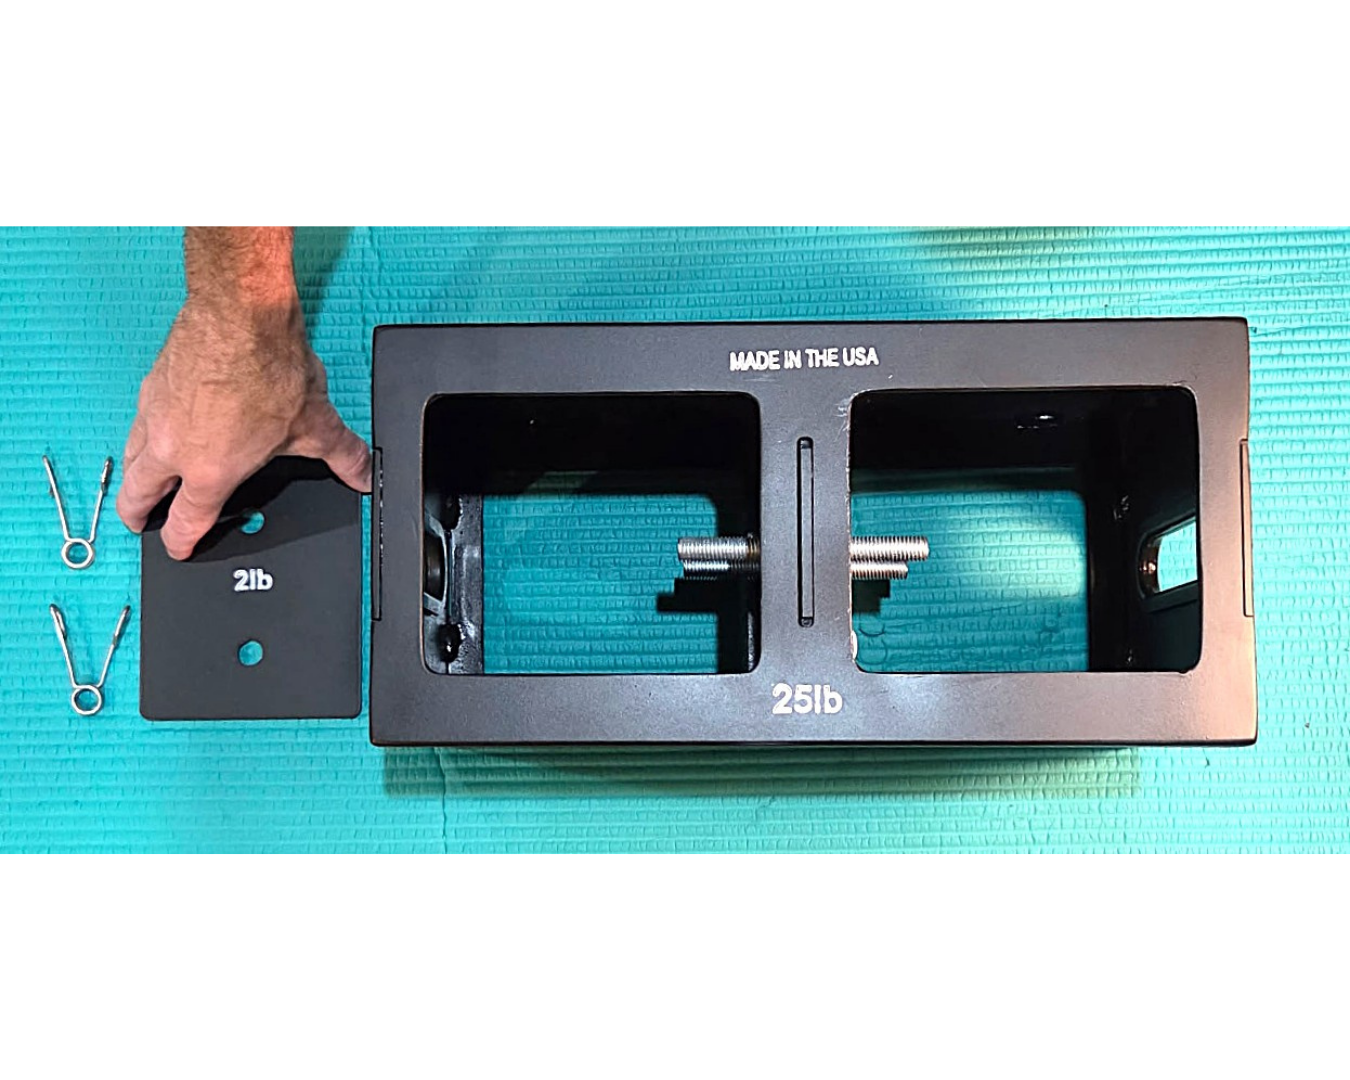
Ensure your EmberBox is placed on a stable, flat surface to prevent any movement during the weight addition process. Gather the additional weight plates you intend to add.

Step 2
Add the plate
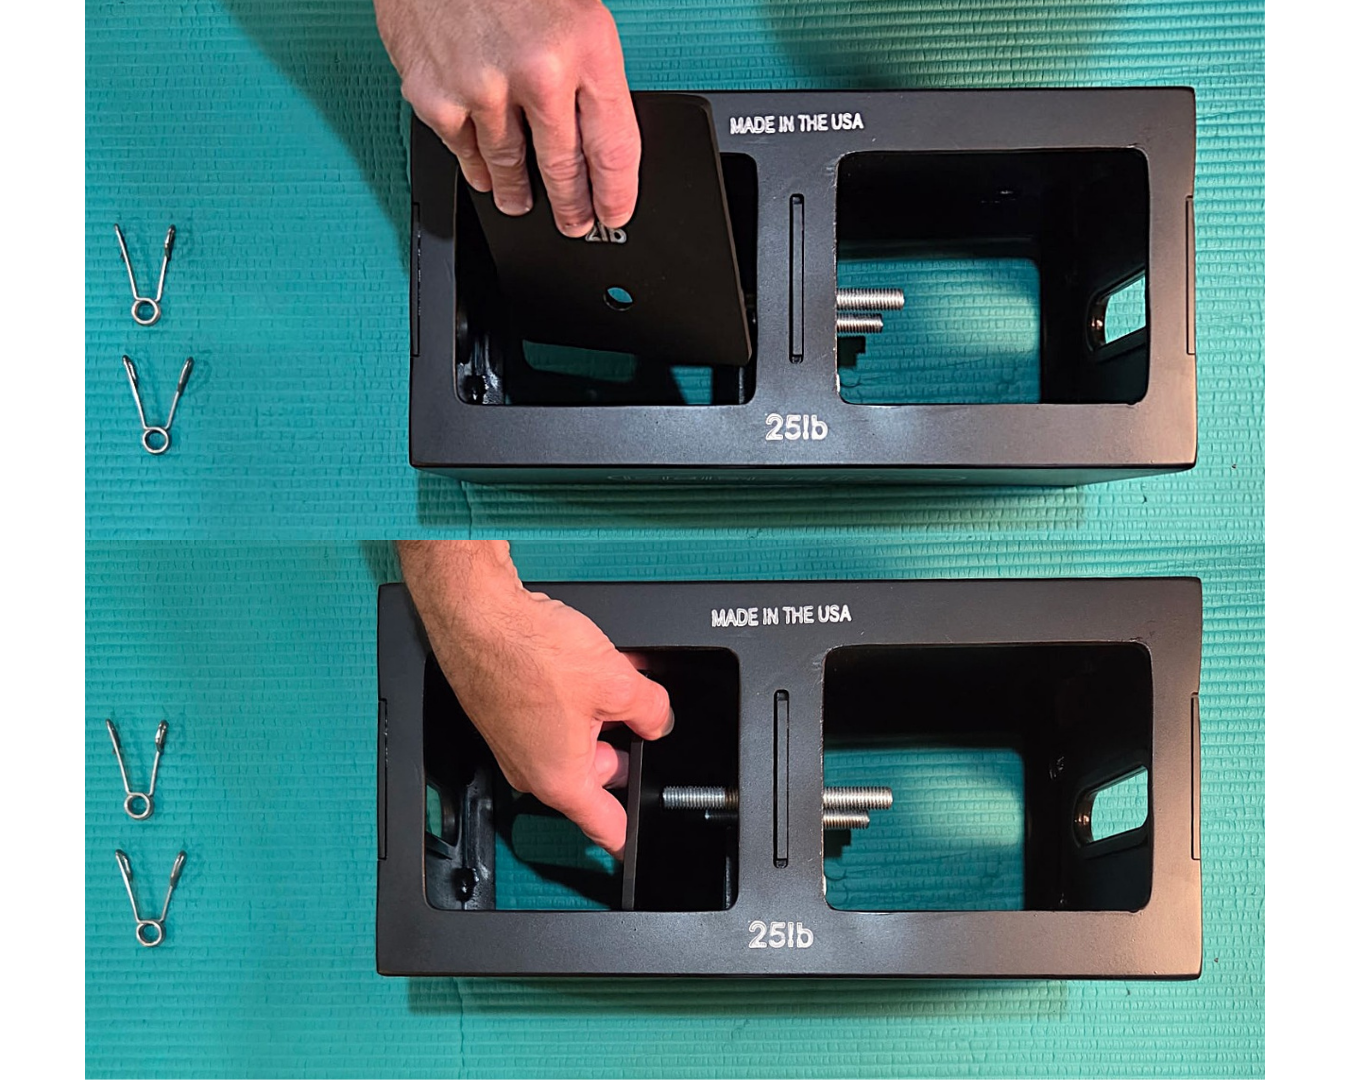
Line up the holes on the 2 lb. plate with the bolts on the EmberBox. Slide the plate onto the bolts until the plate is flush with the center wall of the EmberBox.

Step 3
Add spring clamp
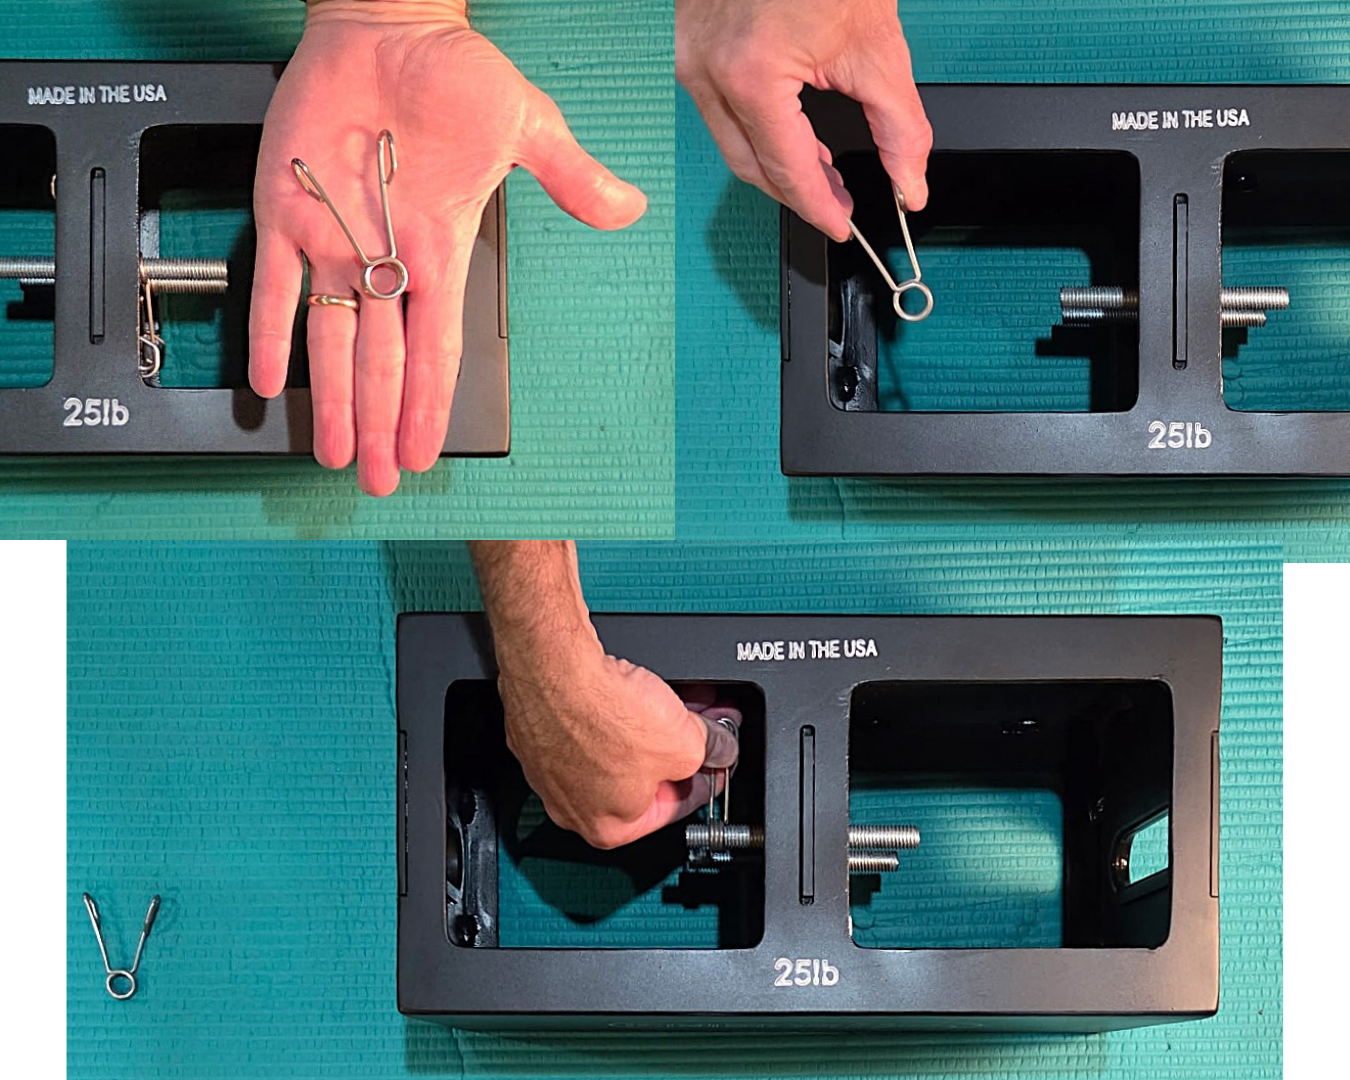
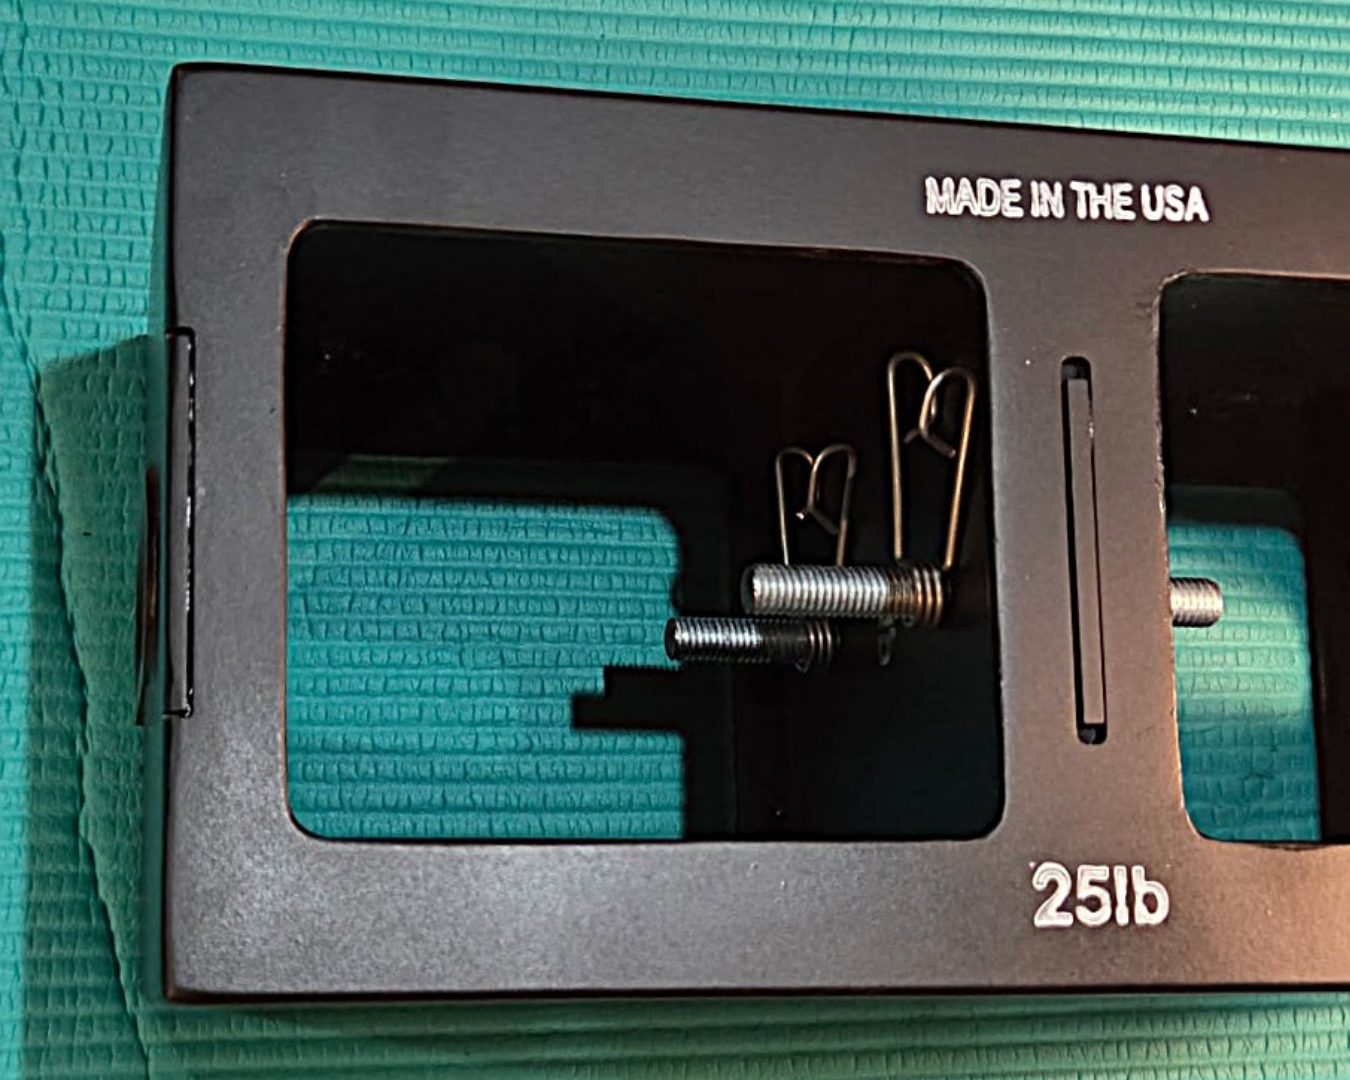
Squeeze the spring clamp and slide onto the bolt until flush with the added plate. Release the spring clamp.

The EmberBox allows for up to 20 additional pounds to be added to any size box.
If adding multiple plates, add an equal number of weights to each side of the center wall of the EmberBox for better balance.
